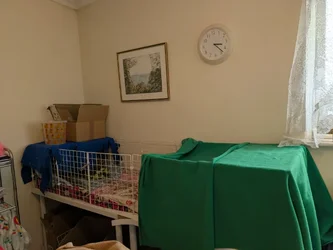
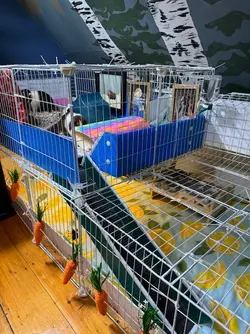
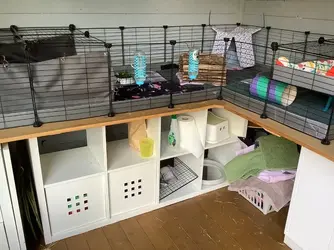
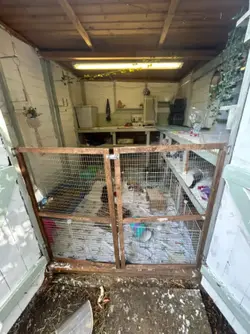
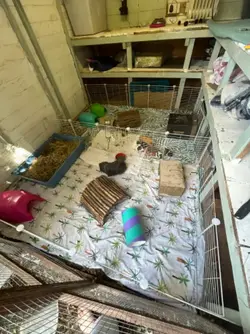
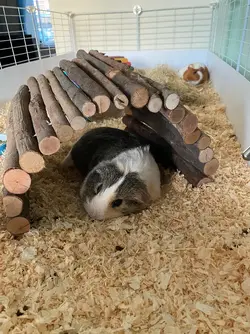
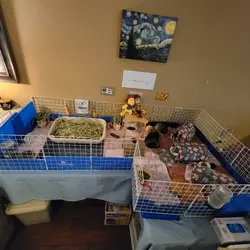
This is my 2 and a half storey enclosure with 6 square meters that I built out of an old wardrobe and some things that I had laying around, I only really bout the plexiglas and some screws from the diy store.
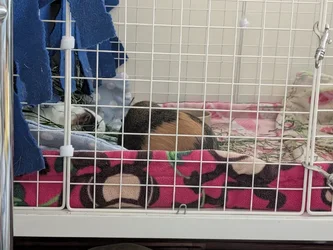
It has only been in use since Friday with my newly adopted trio of Knäckebrot, Pfannkuchen (nee Tickle) and Reiswaffel (nee Plexi).
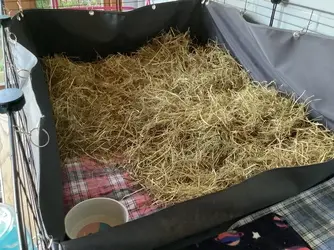
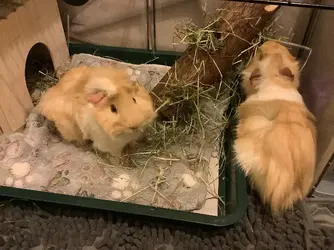
I have already swapped the straw bedding out for soft wood shavings as it turns out I was highly allergic to it and am making plans to improve the enclosure already as I cleaned it today and found that I had to take loads of it apart with my drill.
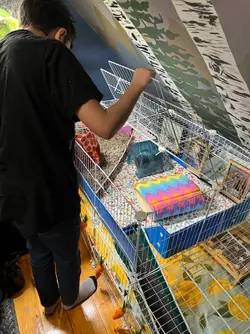
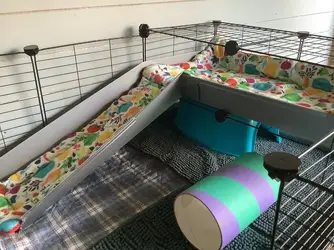
The windows will be going into a hinged drop down frame, as at the moment I have to unscrew each individually, the ramps will be hinged so that I can tilt them up to clean underneath and the bottom fence will be hinged at all corners so that I can remove it in one piece. At the moment it is all screwed together and it was a nightmare to clean under.
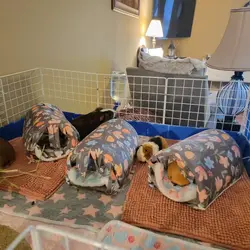
There is some ambient lighting installed in the form of led Strips which is controlled via my smart home system which adjusts the daytime light levels according to the weather outside.
I will also be installing an infrared heating panel on the ceiling above the enclosure for the winter. Even with them being in my living room, we live in an old poorly insulated house and it is not uncommon for the temperatures to drop to - 25°C in winter.
The room is also air conditioned to maintain a comfortable 18°C during the day, again controlled via the smart home system.
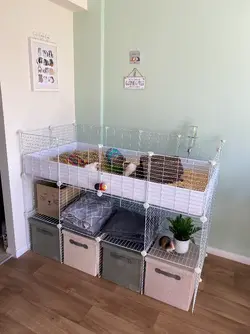
It's painted in a non toxic water based paint (which was ridiculously expensive) but it's totally safe for them and has no offgassing to worry about.
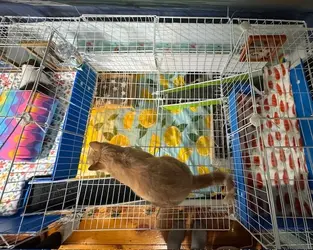
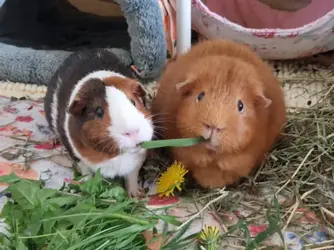
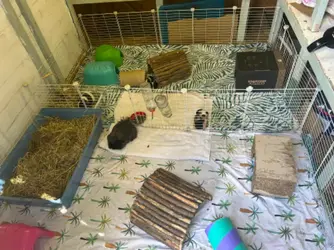
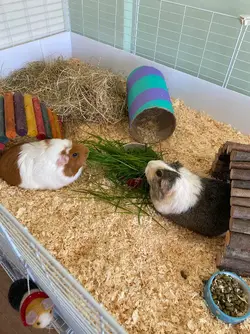
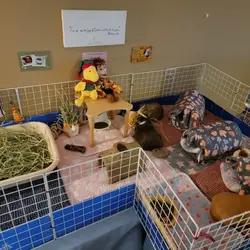
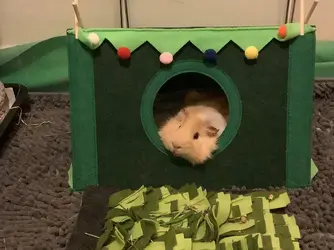
All 3 happily use all of the ramps and the enrichment gets swapped out daily. At the moment there is a toilet roll tube filled with Pea Flakes.
It looks wonderful.

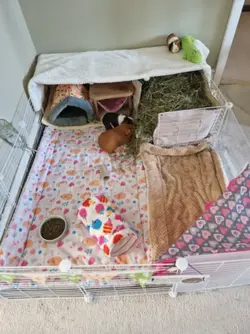
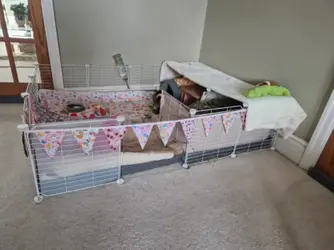
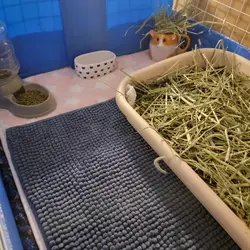
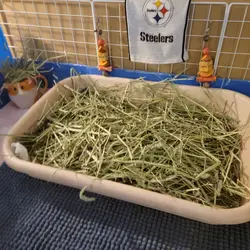
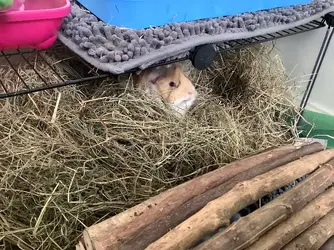
Please make sure that there is plenty of hay and water on the two lower levels; including a place where your piggies can sleep and burrow in soft hay. Hay and fresh dog-pee free grass make over three quarters of the daily food intake so it is good to have it in more than one place with any group.
My current group of six mostly older sows (and their young neutered 'husboar') has got hay in three trays in different corners of their cage. Being able to sleep and burrow in hay is a major and important enrichment.
I am just making sure here and adding this advice for anybody who would like to plan something similar.


 Dumpty did most of his wees in one corner, and it would leak through the coroplast base where it was scored, and drip down to the floor)


 hidey storage